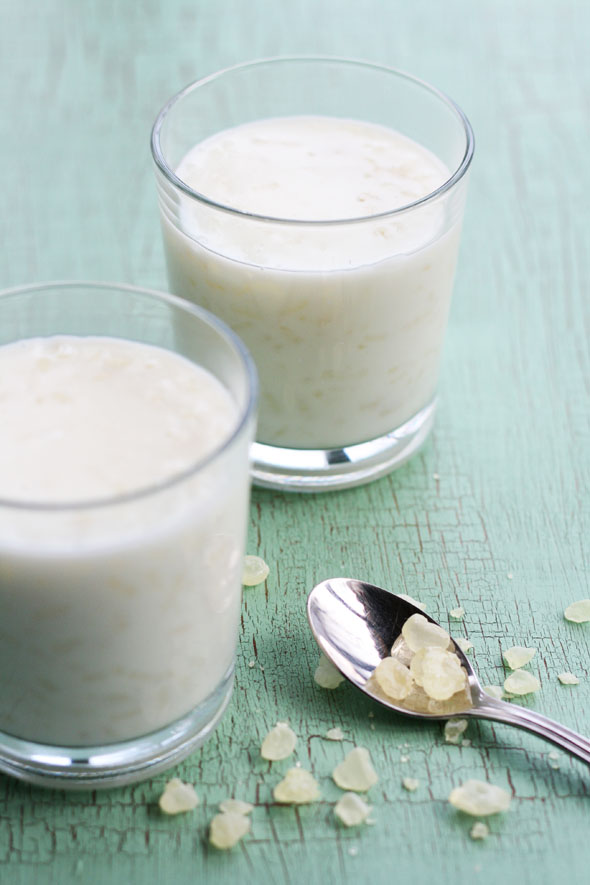
Home-made Greek Yoghurt
I find commercial yoghurt here in Australia just a bit yuck. The flavoured varieties are sickly sweet and most natural yoghurts are just too sour for my liking.
But commercial Greek yoghurt from Greece. Now that's another story.
Let me tell you, the Greeks know how to make yoghurt. Thick, creamy, silky smooth dollops that send you to yoghurt heaven with every devouring mouthful. No sour taste, no sugary flavours. This is the stuff that I would give up chocolate for.
Unfortunately, finding somewhere in Melbourne that imports this precious pot of velvety goodness is not an easy task, and even if you do happen upon it, the chances of it still being fresh are pretty slim.
The next best thing, and based on some of my own results sometimes even better thing, is home-made Greek yoghurt. Yes! You can make this gorgeous stuff at home, and very easily I might add. Once you've made your own yoghurt, you'll never go back to store bought (unless you live in Greece!).
Home-made Greek Yoghurt
Makes about 400–500ml
Ingredients
- 1 litre of full-fat milk
- 2 tablespoons of starter yoghurt*
Instructions
Heat the milk over medium heat until just simmering, ensuring the milk doesn't boil. You will also need to stir it every now and then to prevent a skin from forming.Remove from heat and transfer the milk to a glass or plastic bowl. Allow to sit, uncovered, stirring occasionally, until the temperature of the milk reaches a point where you can comfortably leave your little finger in the liquid for 10 seconds – it needs to be lukewarm.
At this point, take a couple of tablespoons of the milk from the bowl and mix with 2 tablespoons of yoghurt in a separate cup, just to make it runny enough to add back to the bowl. Once added to the bowl of milk, give it a good stir and cover the bowl with a clean tea towel and then wrap the whole bowl with another large towel. I also wrap a very pretty scarf around mine.
Incubating
The next part is fairly crucial so please read carefully. Temperature is very important. The bowl must be kept in a consistently warm place to incubate for the next 5 to 8 hours. The timing depends on how sour you like your yoghurt and how warm the temperature is. The longer you leave your yoghurt to incubate, the more sour it will become.The temperature needs to be between 32 and 49 degrees celsius, however, 43 degrees is the optimal temperature. The closer the temperature is to 43 degrees, the less time you will need to incubate your yoghurt.
To maintain a constant optimal temperature, some people use the oven switched on for around 30 seconds then off again every hour or so; others like Christine from Slow Living Essentials might place their bowl near the fireplace on a cold winter's night. In summer I wait for a scorcher of a day (it reaches 40 degrees celsius here in Melbourne on many a summer's day) and just sit the bowl outside or in the sunroom. If your bowl is sitting out in the sun it needs to be heavily wrapped in towels to prevent the sunlight from spoiling your yoghurt.
Leave the bowl undisturbed for at least 5 hours. You can leave the yoghurt to incubate for anywhere up to 8 hours but as mentioned above, the longer you leave it, the more sour the taste. I much prefer a less sour yoghurt so my incubation period is 5 hours. However, keep in mind that a 5-hour incubation period requires the temperature to be close to optimal. Greek yoghurt really shouldn't be too sour anyway.
After incubation, your new bowl of yoghurt should be set. It may have a layer of whey (yellowish watery liquid) on top. Mine never seems to develop the whey layer at this stage but if your yoghurt has whey that's quite okay. And after straining (see below), you will have lots more whey to do with as you wish, if you are that way inclined. (Unfortunately, whey for me is still one of those yucky substances that I can't quite bring myself to consume or utilise in any way just yet. Don't shoot me! I have many odd food aversions.)
After your preferred incubation time, remove the bowl from the heat source, remove its garments, cover with cling film and refrigerate for at least another 4 hours.
Straining and thickening
Now, this is the Greek part. Remove the bowl from the fridge and whisk your yoghurt thoroughly to break down any lumps. Place a fine-mesh strainer that has been lined with two layers of cheese cloth over a large bowl, ensuring the cheese cloth hangs over the outside of the strainer, but inside the bowl. Pour the yoghurt into the strainer, cover the entire bowl with cling film and return to the refrigerator.After 8 hours or so the excess whey will have drained into the bowl and (in my case) can be discarded. Now, I know there are many whey lovers out there and I don't mean to disrespect the nutritious powers of whey. Whey is full of protein, vitamins, minerals and enzyme goodness and can be used in bread baking and soup stock, so please keep it and use it if you don't want to discard it.
The resulting yoghurt is thick and creamy and to complete the Greek yoghurt experience, you must drizzle with honey and a light sprinkling of cinnamon.


Comments
Post a Comment